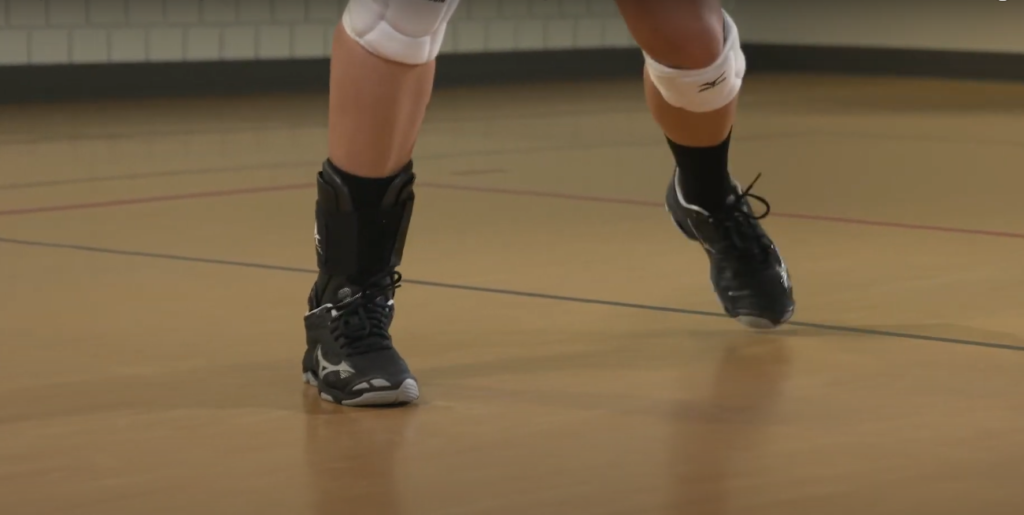
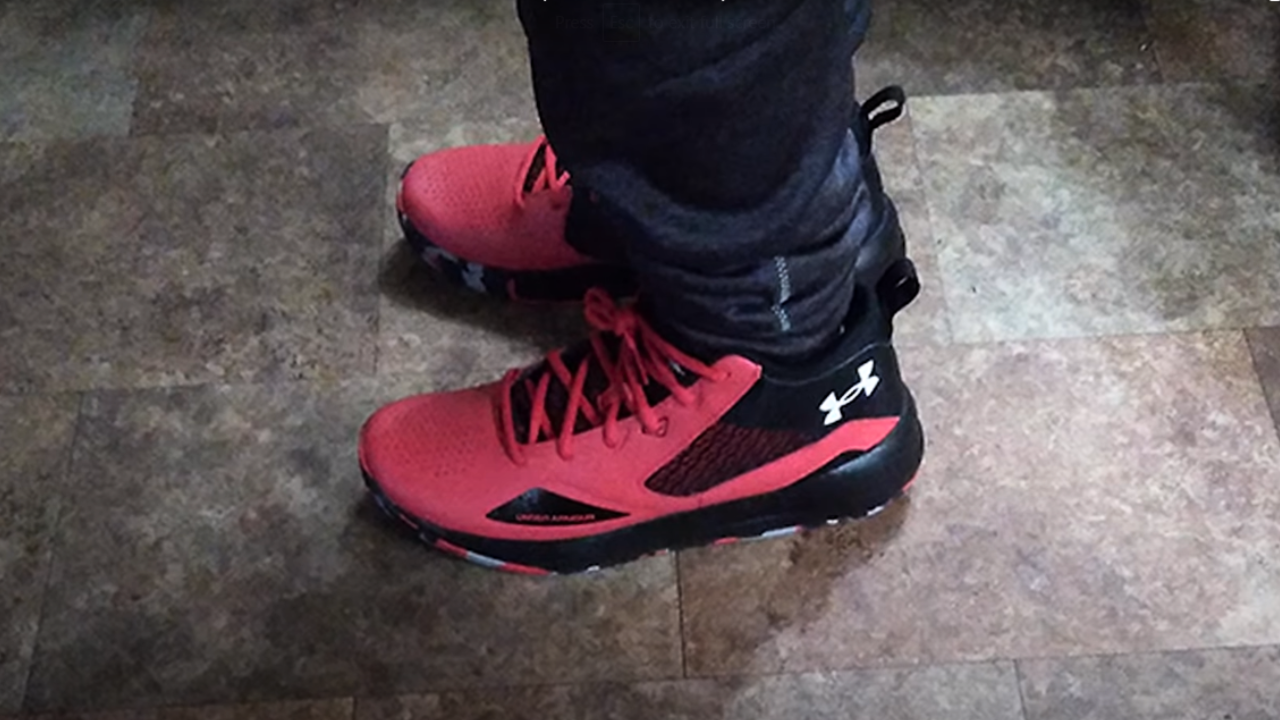
Volleyball is an intense sport that requires agility, speed, and precise movements. The right equipment enhances performance and prevents injuries, especially proper volleyball shoes.
However, even the best volleyball shoes can wear out or encounter problems over time. These are common issues with volleyball shoes, and provide step-by-step guidance on how to fix them, ensuring your boots offer optimal support and performance on the court.
Why Proper Volleyball Shoes Are Important
Before we delve into fixing volleyball shoe issues, it’s crucial to understand why having the right footwear matters.
Volleyball shoes are specifically designed to support the quick lateral movements, jumping, and landing involved in the sport. They offer stability, cushioning, and grip, reducing the risk of ankle sprains and other foot-related injuries.
Wearing worn-out or damaged volleyball shoes can negatively impact your performance and increase the likelihood of accidents.
Common Problems with Volleyball Shoes

Like any athletic footwear, volleyball shoes can face various issues over time. Some common problems include worn-out outsoles, loose soles, damaged uppers, lace issues, and cushioning problems.
These issues can affect your stability, traction, and overall comfort during play.
However, most of these problems can be fixed with simple do-it-yourself (DIY) techniques, saving you the expense of buying new shoes.
DIY Repairs for How To Fix Your Volleyball Shoes
- Worn-out outsoles:
- Replace the outsoles with specifically designed volleyball shoe outsoles.
- Use a shoe repair adhesive to attach new outsoles securely.
- Loose or detached soles:
- Clean the area where the sole has separated.
- Apply a shoe repair adhesive or glue to the sole and the upper.
- Press the surfaces together firmly and allow them to dry.
- Torn or damaged uppers:
- Use a shoe repair adhesive or glue to join the torn edges for minor tears.
- Sew the torn edges together with a needle and thread for significant damage.
- Consult a professional shoe repair service if needed.
- Laces and eyelets:
- Replace frayed laces with new ones that match the length and style of your original laces.
- Repair or replace broken or missing eyelets using eyelet repair kits or seeking professional help.
- Insole replacement:
- If your insoles are worn out or causing discomfort, replace them with new ones that provide adequate cushioning and support.
- Choose insoles that are specifically designed for volleyball shoes.
Tips for Preventing Volleyball Shoe Issues
Prevention is always better than having to fix problems. Here are some tips to prolong the life of your volleyball shoes and minimize the need for repairs:
- Rotate your shoes
- Clean and dry your shoes
- Store them properly
Conclusion
Your volleyball shoes are crucial to your performance and safety on the court. By understanding common issues and knowing how to fix them, you can extend the lifespan of your shoes and ensure they provide the necessary support and comfort.
Remember to regularly inspect and maintain your shoes to catch problems early on. Taking care of your volleyball shoes will contribute to your overall success in the game.
FAQs:
How often should I replace my volleyball shoes?
Replacing your volleyball shoes every six months is recommended.
Can I wear regular athletic shoes for volleyball?
While regular athletic shoes may offer some support, they lack the specific features and design required for optimal performance in volleyball. It’s best to invest in proper volleyball shoes.
Should I wash my volleyball shoes?
Avoid washing your volleyball shoes in a washing machine. Instead, clean them manually using a damp cloth or sponge to remove dirt and stains.
